Wednesday, November 20, 2013

Pumpkin Bread Pudding


Thanksgiving is one of my very favorite holidays. Admittedly, we've grown a bit selfish with our day - my husband and I choose to spend it with just ourselves and our four bambino's. Our schedules are incredibly full and often we meet each other coming and going while doing the baseball-ballet-shuffle. I wouldn't have it any other way. When Thanksgiving Day rolls around we look forward to taking an entire day to veg-out. Eat, Pray, Love - literally. We enjoy the day with our kiddo's, good food, a good long nap, and lots of fireside snuggles with our favorite movies. It's so very restful and rejuvenating. 

Of course, any Thanksgiving table would be remiss without a pumpkin dish in some form. We're changing things up this year by adding pumpkin bread pudding to the dessert menu. 

First take 1 cup of raisins and soak them for about 20 minutes in 2/3 cup of bourbon. If bourbon is not your thing, you can easily substitute 2/3 cup hot water. 


While your raisins are soaking, butter and 8x8 pan and sprinkle with 6 tablespoons of brown sugar. I'll admit, I took this photo and then realized I didn't butter the pan first. I'm not perfect…


Cube a loaf of a very dense italian bread, about 12 oz -  most loaves are 16-24 oz, so you won't need the entire loaf. It works best if you leave the bread overnight to dry out. A good dry bread will hold the batter well.


Mix together: 15oz. of pumpkin puree, 4 eggs, 1 cup sugar, 1 1/2 cups half and half, 2 tsp. vanilla, 1 tsp. cinnamon, 1/4 tsp. allspice.


Stir the bread cubes into the pumpkin mixture…


Drain the raisins and add to the batter, then pour into your prepared pan.


Bake at 350 degrees for 45-60 minutes until the top is golden brown and the custard is set.


Dish up for your loved ones and give thanks!! Enjoy!


Pumpkin Bread Pudding

6 Tbs. brown sugar
1 cup rasisins
2/3 cup bourbon or hot water
1 15oz can pumpkin puree
1 1/2 cup half and half
4 eggs
1 cup sugar
1 tsp vanilla
1 tsp cinnamon
1/4 tsp allspice
12 oz. dry dense italian bread or challah, cubed

Butter an 8x8 pan and sprinkle with brown sugar. Set aside. Pour bourbon over raisins; set aside. Combine pumpkin, sugar, eggs, spices and vanilla - mis well. Stir in cubed bread and mix to combine. Drain raisins and fold into pumpkin mixture. Pour into prepared pan and bake at 350 degree for 45-60 minutes until custard is set and the top is browned. Enjoy!

Wednesday, September 25, 2013

Stop the Clock!!!

I cannot believe that it has already been TWELVE years since we first met this lovely young lady. Her kind heart and conscientious spirit melt us daily and we are in love with the woman she is already becoming. It is such a blessing to be her mother. Here are a few of her 12 year pictures....


Tuesday, September 24, 2013

Preview!

Last December I took a good long look at my business and evaluated where I was and where I wanted to be. Many of you may remember that my initial business involved not only cakes, but catering as well. Somewhere in the middle of assembling hors d'oeuvres for 250 people while caring for a six week old baby I realized that as much as I love to cook, the art of cuisine loses its luster when stuffing 600 mushrooms and prepping the same number of crab cakes in between a baby's nursing schedule. It was a sleepless summer. I still love to cook, entertain, and share my recipes on this blog, but my true passion is art and my mediums of choice are cake, sugar, fondant - you get the picture.  My business model got a facelift for 2013 and I haven't looked back - I love my job! I know it is a huge blessing to find work pleasurable and I don't take it for granted. 

Thanks to a sweet family member who recently married and agreed to don her wedding gown once more for a photo shoot, I now have these beautiful photo's that I can't stop looking at! You can check out our model, Lael, on her blog: High Heels and High Notes and find the fabulous white leather sofa over at Mood Party Rentals.

Here's a peek at a few photo's from our shoot....


Wednesday, September 4, 2013

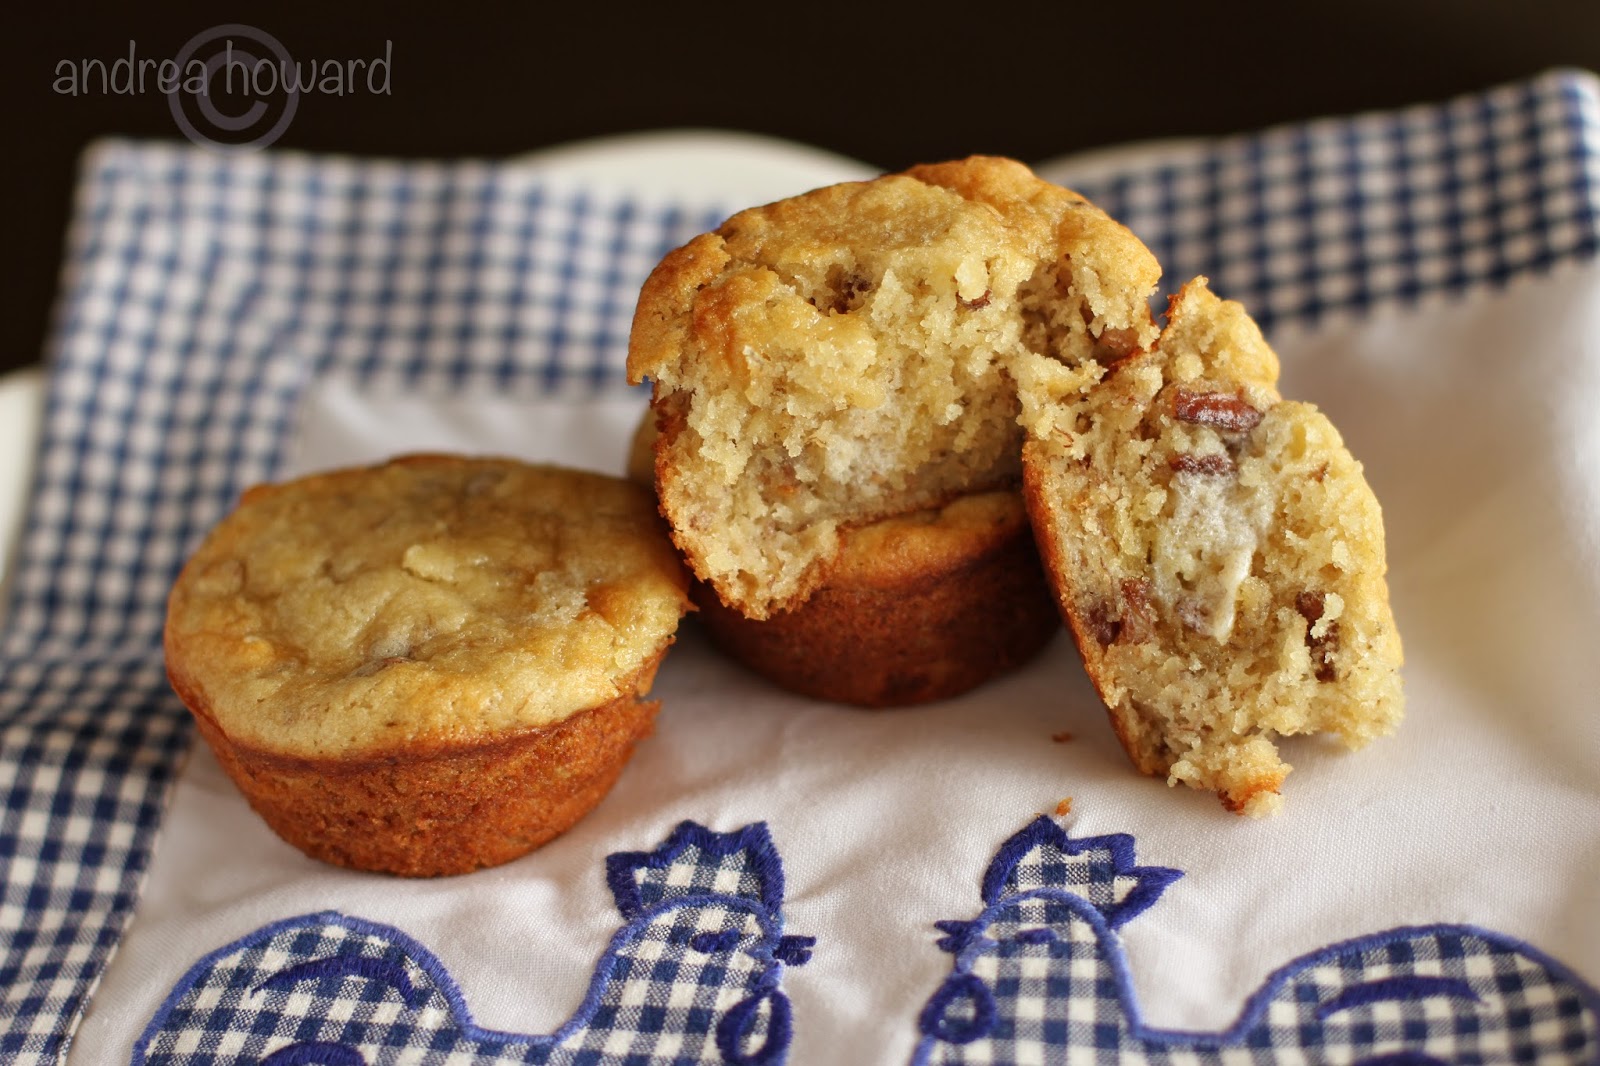
Banana Be Mine


Finally getting a recipe on the blog! I cannot believe how long it has been since I've shared some kitchen goodness - maybe this is a sign that I am finally getting settled into a routine over here where the wind comes sweeping down the plain. It's been more than a little crazy trying to get settled into our new home (which, by the way, I unpacked in such a hurried frenzy that I now can't remember what items I put into which cabinets, closets, etc. and find myself ransacking my own home to find my things) and setting up my very modest cake studio has proved more time consuming than I anticipated - largely due to our determination to stay on a shoe-string budget and accomplish a majority of the work ourselves. It's been exhilarating and exhausting all at the same time and my rough cuticles are showing it.

Anyway, I actually made these scrumptious little ole muffins several weeks ago and well before finding that perfect spot for food photography - you know, the sweet spot where the natural light is just right. This photo was taken in my home, but I'm so thrilled to begin shooting at my studio soon. The huge windows and natural light will make for some beautiful photos (I hope). 

Banana Nut Muffins

1/2 cup (1stick) butter at room temp
1 cup granulated sugar
2 large eggs
1 1/2 cups unbleached flour
1 tsp. baking soda
1 tsp. salt
1 cup mashed very ripe bananas
1/2 cup sour cream
1 tsp. vanilla
1/2 cup chopped nuts

Preheat to 350 degrees. Spray muffin tins with nonstick cooking spray. In an electric mixer fitted with the paddle attachment, cream butter and sugar until light and fluffy.  Add eggs, and beat to incorporate. In a medium bowl, whisk together flour, baking soda, and salt. Add to the butter mixture and mix until just combined. Add bananas, sour cream and vanilla; mix to combine. Stir in nuts, and pour into prepared pan. Bake until a toothpick inserted in the center of the muffin comes out clean about 18-20 minutes, but ovens vary so watch your first batch and time accordingly. Cool ten minutes and turn out of pans to finish cooling. 

Thursday, August 29, 2013

I Think I Can, I Think I Can

One day soon (I hope) I will post full-finished photo's of my new cake studio. Today, I'm just bringing you up to speed. After returning to OKC in June (with squeals of excitement) I thought I had found the perfect space to set up shoppe. Cake shoppe. I was flippin' excited and roaring to go when I received the sad call that I had been outbid for the space by a franchise...you know, those people with extensive capital, which I, at this moment, do not have. I took a moment to throw my little fit, stomp around and cry a bit. Then, I had lunch with a great mentor...I would call her a colleague, but that would superimpose myself into her league, which I am not, so I think advisor, mentor, all-around-great-gal, fits the bill. You may remember when I first wrote about Ruth Rickey here. Sometimes, just having someone to bounce all of your goals off of really helps to clear the mind and bring a girl back on track. That's what my hour with Ruth did for me and helped me remember my initial plan and how very different it was from the plan I had formulated to meet the size of my so-called perfect space. It felt freeing to acknowledge that my lost space was perhaps a blessing in disguise...and boy was it. I continued looking all around the Edmond/OKC area looking for that little niche that I could turn into my studio - where I can create my edible art. After a couple more weeks of fervent exploring, I happened upon a little space in the nook and cranny of a downtown Edmond building. It fits the bill perfectly for me and my bakery boys - they do go to work with me most days and having an extra room specifically designed for them was a must. We didn't wast anytime negotiating the lease and hiring plumbers and electricians. At many points I questioned my sanity and understood why so many people choose to run a hobby business from their home. This commercial space is a lot of work! Especially when it's not a turn-key venture but rather a roll-up-your-sleeves-we-gettin-dirty heap of mess! We were determined to get the space ready on a shoe-string budget and as you know, that means a lot of DIY. I'm proud to say I have painted every nook and crevice with these two hands and spent countless hours scrubbing sanded concrete floors before I broke open the concrete sealer and went to work. We still have lots to do before I feel the place will be perfect, but I'm happy to say we're getting close to workable with loose ends to tie up as we go. The reality is, I've booked weddings and have to get to work! I'll just have to hang that bathroom mirror later, que sera sera. Take a moment browse thru a few before and during pics....and yes, you'll still be waiting for the after pics. Ornery, I know. 


First day we viewed the space


Love having an alley entrance for loading and unloading

No plumbing? No problem

Bring on the jackhammers


There's the plumbing

Picking out the perfect gray

Bakery Boy *sigh* I'm in Love

Bye-bye ugly brown

Hello gray

time to give those floors a face-lift: Round 1

My OCD needs medication

So close and yet so far

Floor sanding: Round 2

Ah, that's better


My baby has arrived!! 

Finally have a front door

Getting close


The brown had to go

Gray is so much better for us - love having a chalkboard on my back door
I hope you enjoyed a sneak peek behind our walls - I can't wait to bring you clips of the finished studio - stay tuned!!